
-
-
I’m very excited (and proud) to announce that on March 3rd, 2016 I reached a long-term goal I set for myself 3½ years ago, by self-publishing my first book, The Linux Sysadmin’s Guide to Virtual Disks. The book is published under my new brand, Scribe’s Guides.
The first edition of The Virtual Disk Guide has been a long time coming. Nearly 7 years of on-and-off writing have gone into it. I’m relieved to have made it this far.
-
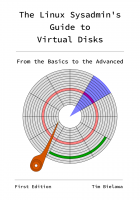
- Front cover
-

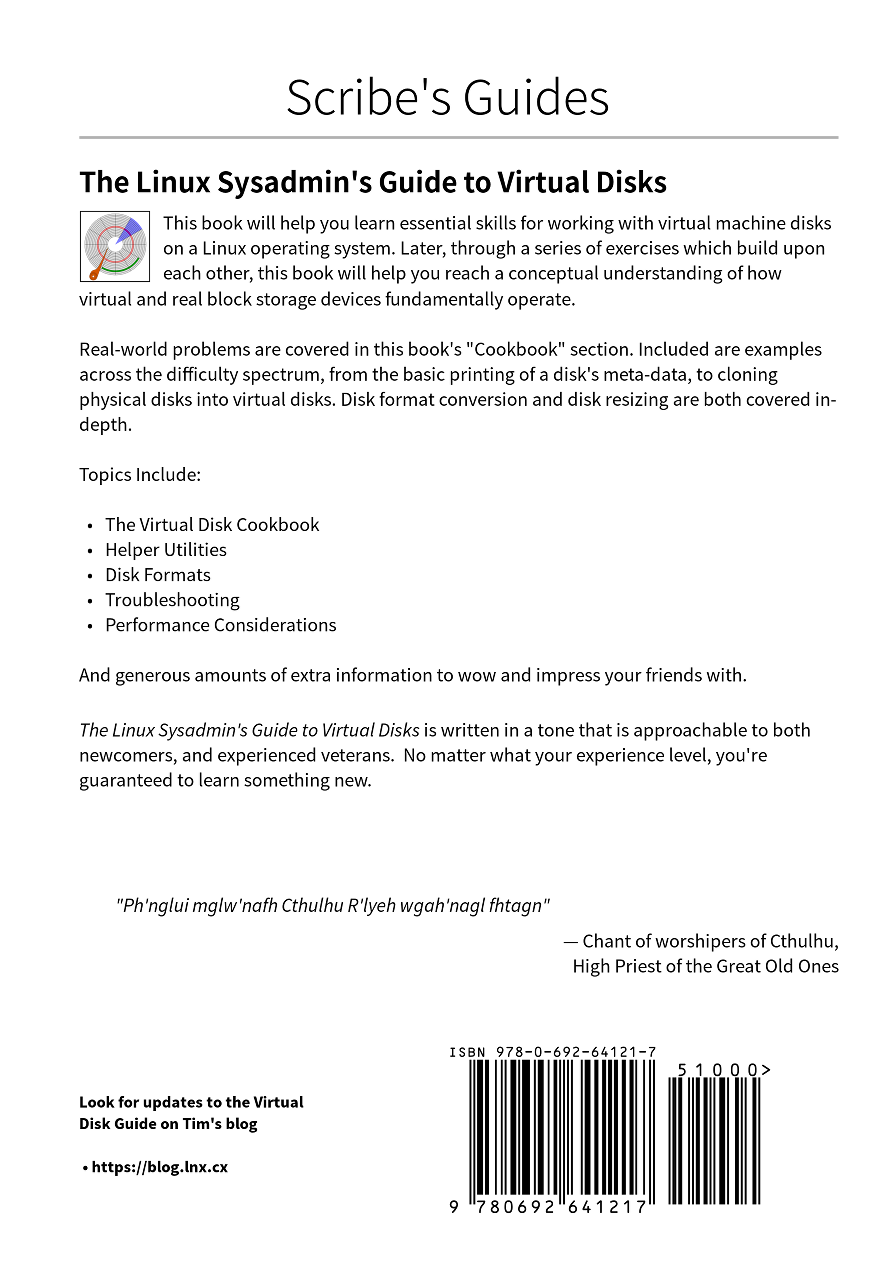
- Back cover
About the Virtual Disk Guide
I view the book as the definitive reference guide for virtual disk related activities — clear, concise, accurate, and approachable to readers of all skill levels— but that’s just my opinion. You can decide that for yourself.
The book is quite thoroughly cited and annotated with nearly 100 individual footnotes and references to additional learning resources. The book weighs in at around 80 pages, 7 chapters, and two technical appendices. Here’s the byline from the scribesguides.com website:
The Linux Sysadmin’s Guide to Virtual Disks demonstrates the core concepts of virtual disk management. Real-world problems are covered in the book’s “Cookbook” section. Other topics include: helper utilities, disk formats, troubleshooting tips, performance considerations, and comprehensive appendices.
GetBuy one (please?)- Buy a hard copy of the first edition for $10.00
- Read the latest build[1] of the PDF or HTML versions online for free
Or do both! Say “thanks!” by purchasing a copy, and then enjoy the latest builds online forever, for free!
[1] – The original first edition text is also available for free in PDF and HTML formats and is identical to the print copy
Open Source
The official publishing of The Virtual Disk Guide does not change anything about it’s openness or your freedom to remix it however you wish. The book is still freely licensed under the Creative Commons Attribution-ShareAlike 4.0 International License (CC BY-SA 4.0).
All of the source material used to build the book’s body material and cover images are still free and open source, covered under the same license. All digital media displayed in the book, such as figures and the cover art, was created using free/open source software. Each media item was created and saved in digital formats unencumbered by patents.
As ever, if you identify errors in the book or have thought of a way to improve it, please open a ticket on the GitHub issue tracker. If you’ve read a copy of the book already and would like to contribute a review or statement, feel free to reach out to me. Find my email in a github commit, or look at my other contact methods under the author highlight panel on scribesguides.com.
More Blog Posts Coming Soon
The experience of writing and publishing this book has taught me much, and it’s time to spread that information. Check back soon for a follow-up post I’m writing which covers more of the technical side of self-publishing. Specifically, self-publishing a DocBook 5 document at the on-demand printing website lulu.com.
Let me be explicitly clear, this is not a promotion for lulu.com.
Rather, the post will review some of the technical challenges I encountered (old examples: #1, #2, #3) during the publishing process, including challenges specific to Lulu. Such as, how I customized the PDF output from dblatex to look more personal and less generically academic, why I had to order three proof copies of the book before the cover matter printed in decent quality, and how to adjust your inner and outer page margins so there’s a reasonable amount of whitespace between the spine/binding and the body text.
I have a feeling that by the time I’m done with the blog posts I’m going to have written another book of documentation about how I wrote a book of documentation
-
-
This is an update to a previous blog post where I described how I was able to use custom fonts in my docbook -> dblatex -> pdf toolchain by switching to the XeTeX backend.
I closed that blog post with a few caveats:
- remark elements no longer appear in PDF output
- The DRAFT watermark no longer appears
- screen elements no longer show a ‘wrapping character’ in long lines
I’m pleased to say that I’ve recently revisited my publishing toolchain and two of those three caveats are no longer an issue.
Through a series of unexpected clicks on the dblatex releases page I found myself looking at links to download newer versions of dblatex than I was presently using. Though the updates are not scheduled for inclusion in Fedora 17, they are (going to be) available in Fedora 18 and Fedora 19. I quickly skimmed over the changelogs and found some interesting bug fixes. Such as:
- Remove hard-coded paper size and add some parameters for page layout setup:
- Parameters to define page sizes and margins.
- Parameters to have crop marks for pre-press PDF output.
- Fix Debian bug #629514 to have draft watermark with XeTeX backend.
Because I’m targeting smaller book dimensions for the Virtual Disk Guide I was most interested in the first fix mentioned: the removal of hard-coded paper sizes. Unfortunately, the documentation on the official dblatex site has not been updated in quite some time. It seems that they’re still displaying an early 0.3.x release of the docs.
Wouldn’t you know it… Some kind souls out there on the Internets have actually built and host the most recent version of the dblatex documentation online! Now I’m able to get a smaller page format which is suitable for the dimension options on lulu.com without having to directly hack any of the dblatex styles. All it takes now is: <xsl:param name=”paper.type”>a5paper</xsl:param> Header and footer content receive appropriate margins automatically, too. No more fussing around!
Other notes
- The draft watermark works in PDF output once again.
- Hyphenation in examples works correctly again.
-
Scope
You’re using Ruby on Rails and the Twitter Bootstrap framework. You are using the link_to ActionView helper method. The generated anchor will be visually represented in a navbar as a Bootstrap button component (via the ‘btn‘ and ‘btn-small‘ class attributes). Finally, you want to use one of those sweet Boostrap icons instead of text. It should look something like this:

RNOC Action Bar
The Problem
I had difficulty understanding the correct way to call the link_to method to get the results I desired. Part of my failure to grok is because I’m a complete newbie to RoR, and the other part of it is because the link_to method has 4 distinct signatures that you can call it by.
After some searching around I found a couple of resources on Stack Overflow which looked promising:
- link_to in helper with block
- Using link_to with embedded HTML
- Best way to use Twitter Bootstrap Icons as Links in Ruby on Rails 3?
However, none of those results were quite exactly what I was looking for. They did provide some useful insight into solving the problem though.
Solution
Here’s the code:
Explanation
If my understanding is correct, then this approach implements the third link_to method signature: link_to(options = {}, html_options = {}) do
The options parameter we give here is a hash which is passed to the url_for method, and finally to the Route Module. It ends up returning a URL string in the form of http://yoursite/pages/new
The html_options parameter describes the attributes (other than href) which we desire present in the generated anchor. In this example we are describing an anchor with two classes: btn and btn-small. You could add additional symbols to the hash just as easily: {:class => ‘btn btn-small’, :id => ‘new-page-button’, :title => ‘Create A New Page’}
Finally, the way we’re calling link_to requires that we pass it a block to use as the generated link body (or in our case, icon). So we escape from the ERB sequence for a moment, enter the HTML which Boostrap turns into an icon, and then close the block.
- link_to in helper with block
-
Update 2013-06-23:
Updating to the 0.3.4 version of dblatex has fixed many of the issues detailed in The Aftermath (end of this blog post). See the blog post for more information.
The Problem:
You’re writing a book in DocBook XML, publishing it with dblatex, and you dislike (or want to customize) the fonts it uses in the rendered PDF.
You hunt around the internet and find a nice family of fonts you want to use in your final product. Best of all, they’re free and released under the Open Font License!(Thanks, Adobe!)
The dblatex documentation shows you how to set your fonts, but you can’t seem to get it to work.
- What do you put in for the names anyway?
- Do spaces matter, or do you enter file names?
- Where do you install the fonts?
- OTF, TTF? What type of font must they be?
- Does the TeX engine even support this?
The Solution:
1. Find The Family Names
Caveat: I can verify that this solution works for TTF type fonts, I can not comment on how well it works for other font types.
First, you will need to identify the actual family name of the fonts you want to use. If your font is not installed on your system there is a command called otfinfo that can tell you the family of the font file (despite sounding specific to OTF fonts, this works on TTFs as well). The otfinfo command is provided by the lcdf-typetools package:
If your desired font is already installed on your system you can use the fc-list command instead to find the same information (fc-list is provided by the fontconfig package):
2. Install New Font Files
If this is a new font on your system then you’ll need to install it. There are (at least) two locations that work:
$HOME/.fonts/usr/share/fonts/truetype/
The Font Manager application (package: font-manager) also provides a graphical way to install font collections.
(Optional) Rebuild Font Cache
Rebuild your font caches with the
fc-cache -f -vcommand. If I recall correctly, you need to have super user permissions to run this. I may be wrong though.3. Configure dblatex
The necessary changes to consume your custom fonts isn’t difficult. Assume that up until now you’ve been rendering your PDFs from XML source like this:
dblatex -o output/Virtual-Disk-Operations.pdf Virtual-Disk-Operations.xml
We need to use XSLT stylesheets to define what our chosen font families are going to be. In this example I’m using Source Sans Pro for the body font and Source Code Pro for monospaced sequences.
First, make a directory called xsl and put a file like this in it:
Next, slightly modify the command you run to build your PDFs (new parts are in bold text):
dblatex -p xsl/dblatex-pdf.xsl -b xetex -o output/Virtual-Disk-Operations.pdf Virtual-Disk-Operations.xml
-p xsl/dblatex-pdf.xsl: This tells dblatex that we’re providing a “user stylesheet” to use when transforming the XML. This stylesheet only has our font customizations in it, but you can put much more in them than just that.
-b xetex: This tells dblatex that instead of rendering our PDF with pdftex we want to use a different backend driver (or “TeX engine”). Specifically we want to use the xetex driver. We choose the xetex driver because of it’s superior font handling abilities via the fontspec LaTeX package. When we use the xetex engine dblatex will insert some special macros into the intermediate LaTeX document it generates, this process is transparent to the end user:
After this, dblatex runs any custom post-compilation scripts, and then hands the intermediate file off to xetex where it is finally transformed into PDF format.
4. The Aftermath
In my case there were some unexpected side-effects from switching backends. Here’s what I’ve noticed so far:
- remark elements no longer appear in PDF output
- The DRAFT watermark no longer appears
- screen elements no longer show a ‘wrapping character’ in long lines

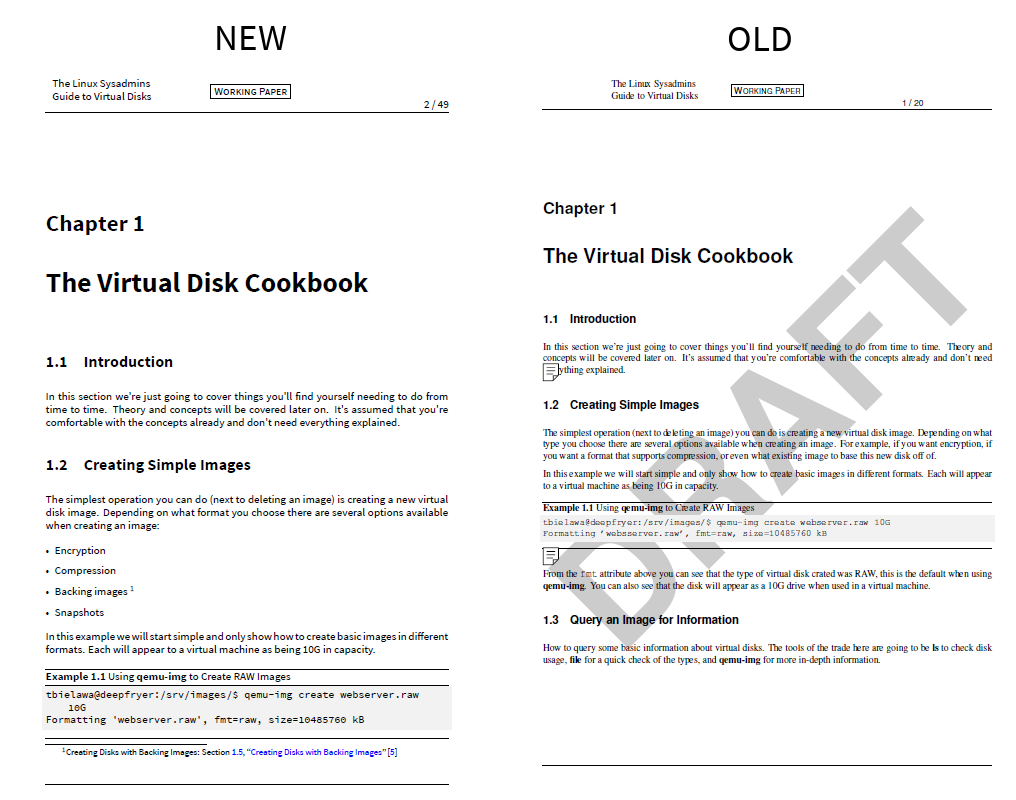
On the left is the book rendered with xetex and the new fonts. On the right is the book rendered with pdftex and no special font customizations.
The only thing that really bothers me is the broken word-wrapping character. I can deal with the others breaking. I had intended to remove them from the final product anyway.
-
In the book I’m working on, the Virtual Disk Guide, I recently decided to start templating out an Acknowledgements chapter. I’m writing the book in DocBook5 and my print (PDF) publishing toolchain looks like this:
- GNU Make
- xsltproc
- dblatex
The problem I ran into is that dblatex has no stylesheets or templates built in to handle DocBook acknowledgements elements and the PDF is difficult to manage, but systems like sodapdf could be the perfect solution for this. Acknowledgements sections should be fairly simple to render I thought. You really just need a chapter header, and then to process the block elements, like paragraphs, blockquotes, and what have you. To me, the same template used for Colophon sections would create an ideal acknowledgements section.
I’ve never done any real XSLT work before, and even after this I still wouldn’t claim that I have, but here’s what I did to get a working acknowledgements section:
I found the location dblatex installs it’s XSL documents to on my system,
/usr/share/dblatex/xsl, then I used grep to find files that matchedcolophonelements:grep colophon *.xsl. Examining thecomponent.xslfile suggested that it had the templates I needed to copy and modify for feeding into dblatex. After a few attempts I came up with working results. Here’s what it ends up looking like:And you consume it with dblatex in this way:
For an example of how this renders you can look at the PDF version of the Virtual Disk Guide. I keep the file in version control on the github project for the book.
Speaking of Acknowledgements: Thanks to my buddy Al for dusting off his XSLT skills and debugging this with me initially.
-
-


![]()
Technitribe by Tim Bielawa is licensed under a Creative Commons Attribution-ShareAlike 4.0 International License.